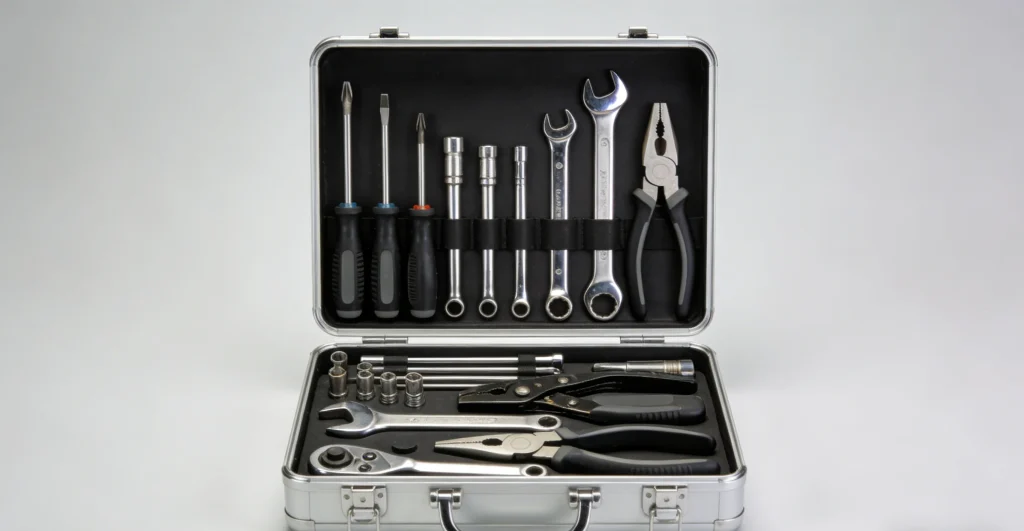
The rear tool box of a lorry is mainly used to store maintenance equipment, vehicle tools, safety supplies, and spare parts required during transportation. Since the tool box is usually installed on the vehicle frame, under the cargo box, or on the rear support structure, it is exposed to long-term vibration, dust, rainwater, and load impacts during operation. Over time, the fixing structure may experience rust, loosening, or other issues. When the tool box needs to be replaced, repaired, or repositioned, removal work becomes necessary. Removing a rear lorry tool box is not simply a matter of taking out a few screws. Different vehicles use different fixing methods. Some tool boxes are fixed with bolts, some are connected with brackets, and some large tool boxes may include reinforcement plates and anti-theft structures.
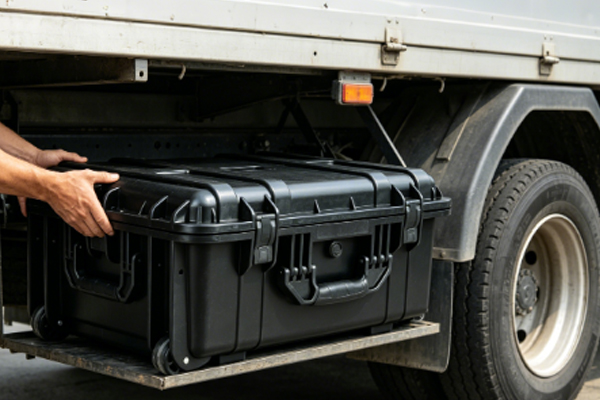
Therefore, before starting the removal process, it is necessary to understand the installation method of the tool box and prepare suitable tools to avoid damaging the vehicle structure or the tool box itself during removal. Safety issues also need to be considered during the process. Rear lorry tool boxes are usually made of metal and can be quite heavy. Without proper support, the tool box may suddenly fall during removal, causing equipment damage or personal injury. Therefore, clearing the contents inside the tool box, confirming the fixing condition, and arranging additional support are important steps to ensure smooth removal.
Detailed Steps for Removing a Rear Lorry Tool Box
Empty the Tool Box and Check the Fixing Structure
Before officially starting the removal process, open the tool box first and remove all stored tools, accessories, and miscellaneous items inside. Many lorry tool boxes are used for carrying maintenance supplies for a long time, and they may contain a large number of metal tools. If they are not removed in advance, the weight of the tool box will increase, making the removal process more difficult. After cleaning, inspect how the tool box is installed. Common fixing structures include bottom bolts, side brackets, and connecting angle brackets. After confirming the fixing locations, select suitable tools according to the structure, such as wrenches, socket tools, electric tools, or rust removal tools.
Before removal, the following areas should be checked:
Check the Bolt Connections: For lorry tool boxes that have been used for a long time, fixing bolts may become rusty due to exposure to rainwater. If the nuts cannot be removed normally, apply rust remover in advance and wait for a period of time before operation. This can prevent thread damage caused by forced removal.
Confirm the Support Position: Large lorry tool boxes are relatively heavy. When removing the final fixing points, the box may tilt or suddenly fall. Therefore, support frames, wooden boards, or other auxiliary equipment should be prepared in advance to hold the box body.
Check Wiring and Additional Equipment: Some tool boxes may have lighting systems, power cables, or other equipment installed nearby. Before removal, check whether there are connected wires to prevent pulling and damaging the wiring.
After completing these inspection steps, the formal removal process can begin, reducing unexpected situations during operation.
Remove Fixing Components and Safely Take Down the Box Body
Remove Connection Parts According to the Installation Order
Rear lorry tool boxes are usually connected to the vehicle frame or brackets through multiple fixing points. During removal, a proper sequence should be followed. It is not recommended to remove all bolts directly, as the tool box may lose support and suddenly move. Generally, easy-to-access fixing points can be removed first, followed by the main load-bearing connection points. For tool boxes installed under the cargo area, side fixing parts can usually be loosened first, followed by the main supporting bolts, allowing the box body to remain relatively stable.
During the actual operation, pay attention to the following points:
Handle External Fixing Parts First: Use tools to remove external bolts and bracket connection points. If bolts are rusty, lubricants can be used to assist removal and prevent excessive force from causing tools to slip.
Keep Some Fixing Points for Support: Do not remove all connection parts at the beginning. Keep a small number of bolts in place to maintain the fixed position of the tool box. Completely remove them only after support equipment is ready.
Move the Box Body with Multiple People: After the final fixing points are removed, the tool box may suddenly drop. For heavier boxes, multiple people should work together to move the tool box to avoid risks caused by single-person operation.
After removal is completed, inspect the installation area on the vehicle frame. If a new tool box will be installed later, clean rust and debris from the old brackets to ensure a more stable installation.
Frequently Asked Questions
What should I do if the screws on the lorry tool box are rusted and cannot be removed?
During long-term operation, lorries are exposed to rainwater, mud, and road conditions, which can cause tool box fixing screws to become stuck due to rust. In this situation, rust remover can be applied first to allow the liquid to penetrate the threaded area, then an appropriately sized socket tool can be used for removal. If the corrosion is severe, professional tools such as impact wrenches or cutting tools may be required. However, during operation, surrounding frame structures and wiring should be protected to prevent additional damage.
Do I need to remove the tires when removing a lorry tool box?
In most cases, removing the tires is not necessary when removing a rear lorry tool box. Tool boxes are usually installed outside the vehicle frame or at the rear area and are fixed through bottom and side brackets. However, if the tool box is installed close to the tires, mudguards, or internal chassis structures, it may be necessary to adjust the vehicle position or remove certain blocking components to make tool operation easier.
When removing a rear lorry tool box, it is necessary to empty the internal contents in advance, confirm the installation structure, and then remove bolts and brackets according to the fixing sequence. Since tool boxes are usually made of metal and have considerable weight, proper support and cooperation between workers are required during the removal process. If the tool box has been used for a long time, special attention should be given to rusty bolts, aging brackets, and connection points. Forced removal may not only damage the tool box but also affect the vehicle frame structure. After removal, the installation area should be inspected promptly, and remaining rust and debris should be cleaned to prepare for the installation of a new tool box. Through proper removal procedures, operation difficulty can be reduced, work safety can be improved, and the overall structure of both the lorry and tool box can be protected.