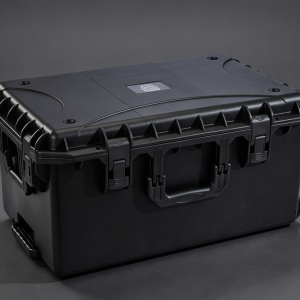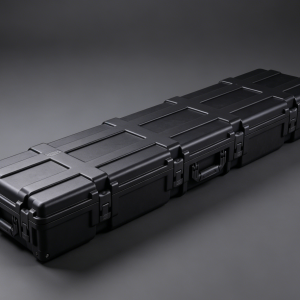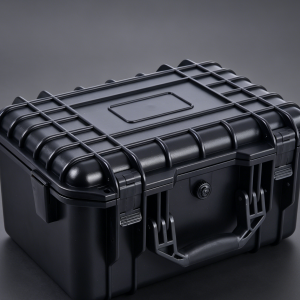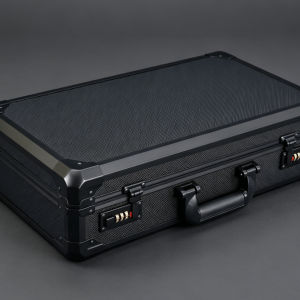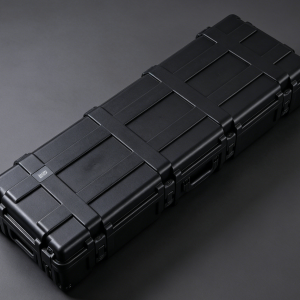
Aluminum tool boxes are commonly installed on trucks, engineering vehicles, or outdoor equipment to store repair tools, spare parts, and important items. Since tool boxes are often exposed to outdoor environments, the lock cylinder can be affected by dust, rainwater, mud, and frequent opening and closing operations. After long-term use, problems such as difficulty turning the key, lock cylinder jamming, or failure to open properly may occur. When the internal components of the lock cylinder become seriously worn, lubrication alone may not restore normal operation. In this case, replacing the lock cylinder is an effective solution. Replacing an aluminum tool box lock cylinder requires selecting a suitable new cylinder according to the lock structure and paying attention to the disassembly sequence to avoid damaging the box door, latch, or installation position.
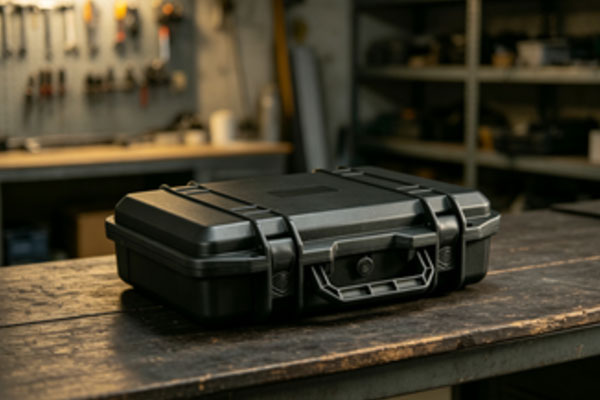
Different models of aluminum tool boxes may use different types of lock cylinders, such as cylindrical lock cylinders, compression lock cylinders, and cam lock cylinders. Therefore, it is necessary to confirm the specifications of the original lock cylinder before replacement. After correctly replacing the lock cylinder, the security of the tool box can be restored and the smoothness of opening and closing the box door can be improved. At the same time, when installing a new lock cylinder, it is also necessary to check the matching condition of the latch to ensure stable locking after closing. If the tool box is used on transportation vehicles for a long time, the waterproof and dustproof performance of the lock cylinder should also be considered to prevent the new lock cylinder from failing again in a short period. Through proper removal, installation, and adjustment, the aluminum tool box can maintain good operating performance.
What Needs to Be Prepared Before Replacing the Lock Cylinder?
Confirm the Tool Box Lock Cylinder Model
Before replacing the lock cylinder, it is necessary to understand the specifications of the original lock cylinder. Different tool boxes may use different lock cylinder sizes, including cylinder length, mounting hole size, cam direction, and fixing method. If the size of the new lock cylinder does not match, problems may occur after installation, such as failure to rotate, the lock tongue not entering the latch, or the box door not closing properly. During inspection, you can first observe the appearance of the original lock cylinder or remove the old lock cylinder and measure its dimensions.
Prepare Disassembly and Installation Tools
Replacing a lock cylinder usually requires basic tools, such as screwdrivers, wrenches, and hex tools. Some tool box lock cylinders have simple fixing methods and can be removed by only loosening the fixing nut. Other structures may require removing the inner cover plate of the box door first. Preparing suitable tools in advance can help avoid damaging the surrounding structure of the lock cylinder during disassembly.
Steps for Replacing an Aluminum Tool Box Lock Cylinder
Remove the Old Lock Cylinder
When replacing the lock cylinder, the tool box door should be opened first. If the old lock cylinder can still be used, use the original key to open the box door, which makes the following disassembly process easier. After opening the door, locate the fixing structure on the back of the lock cylinder. In most cases, the lock cylinder is installed on the box door using nuts, retaining clips, or fixing plates. During removal, avoid pulling the connecting parts of the lock cylinder with excessive force to prevent damage to the mounting hole on the box door. If the lock cylinder is already damaged and the key cannot rotate, you can first try using lubricant to improve the situation. If it still cannot be opened, professional tools may be required for removal.
Install the New Lock Cylinder
After removing the old lock cylinder, clean the dust and debris around the installation area. When installing the new lock cylinder, insert it into the corresponding hole from the outside of the box door, then secure the nut or retaining clip on the back. After installation, do not close the tool box immediately. First, test whether the key rotates smoothly.
Steps for replacing an aluminum tool box lock cylinder:
Confirm the lock cylinder size: Ensure that the specifications of the new and old lock cylinders are consistent.
Remove the fixing components: Remove the old lock cylinder according to the original structure.
Install the new lock cylinder: Ensure that the lock cylinder is positioned correctly and securely fixed.
Test the opening and closing condition: Confirm that the key rotation and latch movement work properly.
What Parts Need to Be Checked After Replacing the Lock Cylinder?
Check the Matching Between the Lock Tongue and Latch
After installing the new lock cylinder, check whether the lock tongue can smoothly enter the latch. If the lock tongue position is offset, the box door may become difficult to close. Even if the lock cylinder works normally, stable locking cannot be achieved. This situation can usually be improved by adjusting the latch position or reinstalling the fixing components.
Check the Sealing Condition
Aluminum tool boxes usually need good sealing performance to prevent rainwater and dust from entering the interior. During the lock cylinder replacement process, if related box door components are removed, check whether the sealing strip has been compressed or displaced. If the box door cannot fully press against the sealing strip after installing the lock cylinder, the waterproof performance of the tool box may be affected.
Perform Simple Maintenance on the Lock Cylinder
After installing the new lock cylinder, an appropriate amount of special lock lubricant can be applied to reduce wear on internal components. It is not recommended to use oil-based products that easily attract dust because outdoor vehicle environments contain a large amount of dust, which may cause internal blockage of the lock cylinder over long-term use.
Frequently Asked Questions
Q1: Can only the lock cylinder be replaced when an aluminum tool box lock cylinder is damaged?
Answer: Yes. As long as the lock body, latch, and box door structure are not damaged, replacing only the lock cylinder is usually enough to restore normal use without replacing the entire lock.
Q2: Does replacing the lock cylinder require disassembling the entire tool box?
Answer: In most cases, it is not necessary to disassemble the entire tool box. Usually, you only need to open the box door and remove the lock cylinder fixing components from the inside.
Q3: Why does the key not turn after installing a new lock cylinder?
Answer: Possible reasons include an incompatible lock cylinder model, incorrect installation position, or misalignment between the lock tongue and latch. You can check the installation direction of the lock cylinder and adjust the latch position.
Q4: How often does a truck tool box lock cylinder need to be replaced?
Answer: There is no fixed replacement interval. It depends on the usage environment. If the tool box is frequently exposed to rainwater and mud, the lock cylinder will wear faster. When problems such as key jamming, failure to return, or unstable locking occur, inspection or replacement is required.
Although the lock cylinder of an aluminum tool box is a small component, it directly affects the opening of the box door, security protection, and daily convenience. When problems such as jamming, inability to turn the key, or unstable locking occur, timely replacement can prevent difficulties in accessing tools. Choosing a product that matches the original lock cylinder size can avoid installation problems; when removing the old lock cylinder, protect the mounting area of the box door to prevent additional damage; after installing the new lock cylinder, check the matching condition between the lock tongue, latch, and sealing strip. Aluminum tool box lock cylinders installed on trucks not only need to meet basic opening and closing requirements but also need good resistance to environmental conditions. Rainwater, dust, and vehicle vibration can all affect the service life of the lock cylinder, so simple maintenance is also necessary during daily use. If the tool box is used frequently, regularly check whether the key rotates smoothly and clean or maintain it promptly when abnormalities are found. A stable and reliable lock cylinder can ensure that the tool box closes properly, reduce the risk of tool loss, and improve convenience during vehicle repairs. Through correct lock cylinder replacement and proper maintenance, the aluminum tool box can maintain good operating performance, making tool storage safer and more reliable.