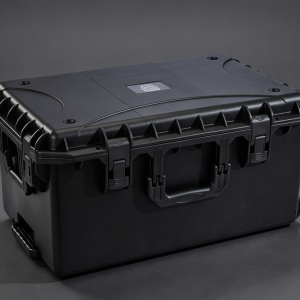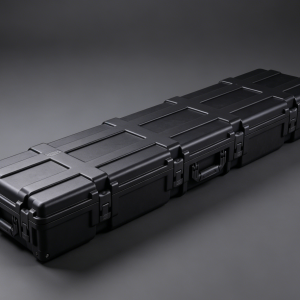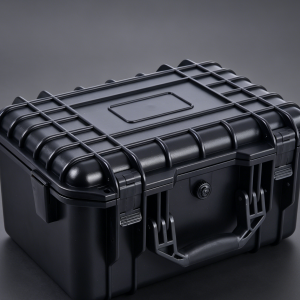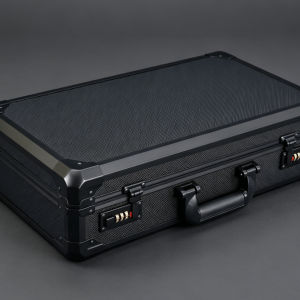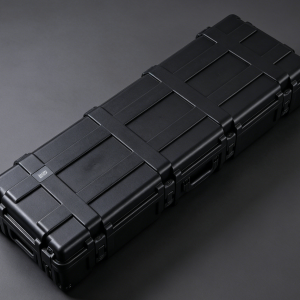
Aluminum tool boxes usually have good corrosion resistance, but if you want to change the box color, improve its appearance, or make the tool box consistent with a company’s brand or equipment color, you can paint the aluminum tool box. Compared with ordinary steel surfaces, aluminum surfaces have a natural oxide film. This oxide film protects the aluminum substrate but can also affect paint adhesion. If ordinary paint is sprayed directly onto untreated aluminum sheets, problems such as paint peeling, flaking, and cracking may occur after a period of use. Therefore, the key to painting is not simply covering the surface of the box with paint, but properly completing cleaning, sanding, primer application, and topcoat spraying. If the tool box has been used for a long time, it is also necessary to check whether the surface has oil stains, corrosion, scratches, old paint layers, or obvious dents, and handle them according to the actual condition. A proper application process can make the paint surface more uniform and improve the bonding between the paint and aluminum. For home DIY projects, small repairs, and factory batch processing, the specific primer and topcoat may differ, but the core steps are basically the same.
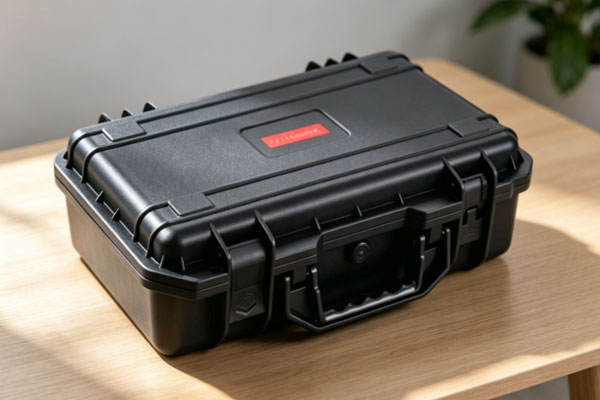
What Preparations Are Needed Before Painting?
Clean the Surface of the Tool Box
Before painting, dust, oil stains, and other contaminants on the surface of the aluminum tool box need to be thoroughly removed. Tool boxes are often used in repair and industrial environments, so the surface may have motor oil, grease, metal dust, and other contaminants. If these contaminants are not properly removed, the paint applied afterward may develop pinholes, poor adhesion, or local peeling. A cleaner suitable for metal surfaces can be used for degreasing, followed by cleaning with a clean non-woven cloth or suitable wiping material. After cleaning, the surface needs to be allowed to dry completely. Dust can easily remain around the corners of the box, handle connections, and latches, so these areas require particular attention.
Sand the Aluminum Surface
The surface of an aluminum tool box is relatively smooth. If paint is applied directly, the mechanical bonding between the paint and substrate may be insufficient. Therefore, fine sandpaper or suitable abrasive materials should be used to treat the surface.
Light sanding: Remove the gloss from the surface so that the aluminum forms a uniform, finely roughened surface.
Old paint treatment: If the tool box has already been painted, check whether the old paint is firmly attached. Loose paint layers should be removed.
Local repair: Obvious scratches, dents, or impact marks can be repaired and leveled before painting.
Dust removal again: After sanding, remove any remaining aluminum particles and dust from the surface to avoid affecting the primer.
Excessive grinding of the aluminum sheet is not recommended during sanding, as it may affect the flatness of the box surface. For tool boxes with brushed, embossed, or other decorative surfaces, an appropriate sanding method should also be selected according to the desired final appearance.
Proper Steps for Painting an Aluminum Tool Box
Apply a Primer Specifically Designed for Aluminum First
Primer is a very important layer in the painting process for aluminum tool boxes. Ordinary primers may not be suitable for aluminum, so it is recommended to choose a primer designed for aluminum and other non-ferrous metals. Primer can improve the adhesion between the topcoat and aluminum while providing a relatively uniform base for subsequent color coatings. During application, the distance between the spray gun or spray can and the workpiece should remain stable, and the coating should not be applied too thickly in one pass. Apply a thin layer, wait until it reaches the drying condition specified by the product, and then apply the next coat according to the instructions. After the primer has completely dried, if slight particles appear on the surface, appropriate fine sanding can be performed, followed by thorough cleaning.
Apply the Topcoat in Multiple Thin Layers
The topcoat determines the final color, gloss, and visual appearance of the tool box. During spraying, applying the paint too thickly in an attempt to achieve complete coverage in one pass can easily cause sagging, orange peel, and uneven drying. A more stable method is to apply multiple thin coats. Each coat should be applied with a relatively consistent movement speed so that the paint forms a continuous but not excessively thick film. Wait until the previous coat reaches the specified recoat condition before applying the next coat. For common colors such as black, white, gray, and blue, the number of coats can be adjusted according to the coverage of the paint. If a special color is required, you should also confirm in advance whether the color of the primer will affect the final color of the topcoat.
What Details Should Be Noted During the Painting Process?
Control the Environment and Spraying Conditions
Environmental conditions during aluminum tool box painting can directly affect the quality of the paint film. Excessively low temperatures, high humidity, or large amounts of dust in the air can all reduce the final finish. Therefore, the work area should be kept well ventilated and clean, while the appropriate temperature and humidity should be controlled according to the paint manufacturer’s instructions.
The following points should also be noted during spraying:
Keep the spraying distance stable: Excessive changes in distance can easily result in uneven paint film thickness.
Maintain a consistent spray gun movement speed: Moving too slowly can cause sagging, while moving too quickly may result in insufficient coverage.
Do not apply the paint too thickly in one pass: Thin-layer spraying is easier to control and can produce a more uniform finish.
Protect latches and hinges: Areas that do not need to be painted should be covered in advance with masking tape or protective materials.
Treat the inside of the box according to requirements: If the interior already has a protective layer or lining, areas that do not need painting should be properly masked.
If the tool box needs to be painted in two or more colors, the base color can be completed first, followed by masking the edges before spraying the second color. When removing the masking material, choose an appropriate time according to the condition of the paint film to avoid pulling or damaging the coating.
Frequently Asked Questions
Q1: Can ordinary paint be sprayed directly onto an aluminum tool box?
Answer: It can be sprayed, but it is not recommended to apply it directly to an untreated aluminum surface. Aluminum surfaces are relatively smooth and have an oxide film, so ordinary paint may not have sufficient adhesion. A more reliable method is to degrease and sand the surface, then use a primer suitable for aluminum before applying the topcoat.
Q2: Why does newly applied paint peel off after a period of time?
Answer: Common causes include failure to degrease the surface, insufficient sanding, an unsuitable primer, an excessively thick paint film, or incompatibility between different coatings. If there are oil stains on the surface of the tool box, the paint may look normal immediately after application but may later develop peeling or flaking.
Q3: Do the latches and hinges need to be removed during painting?
Answer: If conditions permit, removing the hardware that needs to be protected generally makes it easier to achieve a clean painting result. If removal is inconvenient, masking tape can be used to completely cover the latches, hinges, seals, and other areas that do not need to be painted.
Q4: Does an aluminum tool box need a protective coating after painting?
Answer: This can be determined according to the operating environment and paint system. If the tool box needs to be carried frequently and the surface is prone to friction, a transparent protective coating compatible with the topcoat can be selected. Before use, confirm that the primer, topcoat, and protective coating are compatible with one another to avoid problems such as lifting, loss of gloss, or reduced adhesion.
Although aluminum itself has good corrosion resistance, the oxide film and relatively low surface roughness can affect the adhesion of ordinary paint, so cleaning, degreasing, and sanding are essential steps. For tool boxes that have already been used, the old paint layer, oil stains, scratches, and impact marks should also be inspected and properly treated before painting. After surface preparation is completed, a primer suitable for aluminum should be selected, and the primer thickness and drying time should be controlled according to the product requirements. When applying the topcoat, it should not be applied too thickly in a single pass. Instead, the spraying distance and movement speed should remain stable, and multiple thin coats should be used to achieve a uniform paint film. Latches, hinges, seals, and other areas should also be properly protected in advance. As long as the process follows the sequence of cleaning, sanding, primer application, topcoat application, and sufficient curing, an aluminum tool box can achieve a more uniform and durable painted surface. During the painting process, there is no need to try to complete everything in one pass. Controlling the quality of each step can instead make it easier to achieve a smooth, attractive finish with good adhesion.