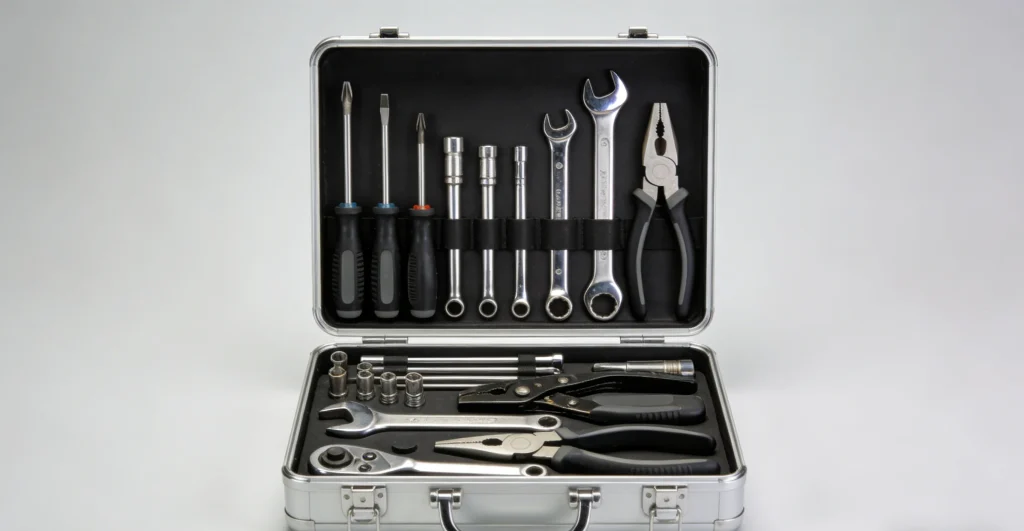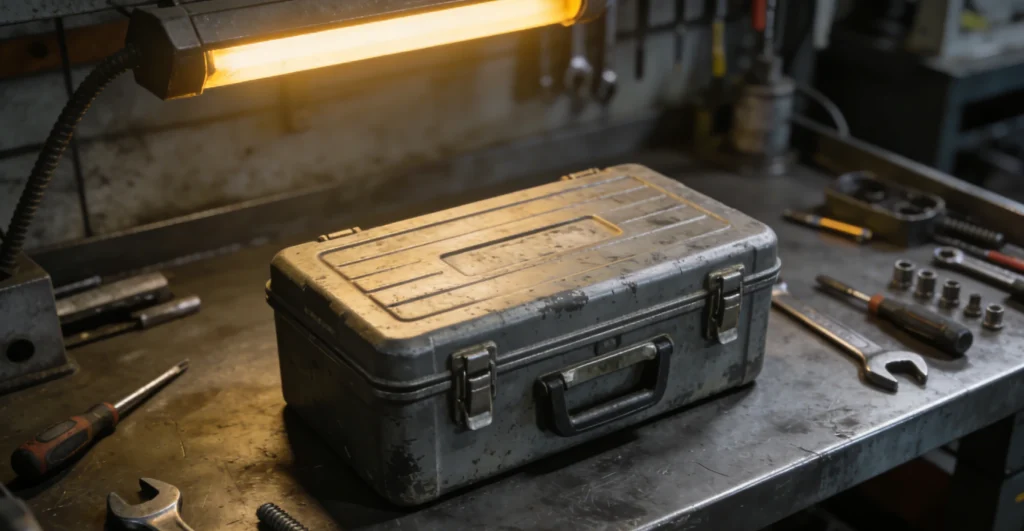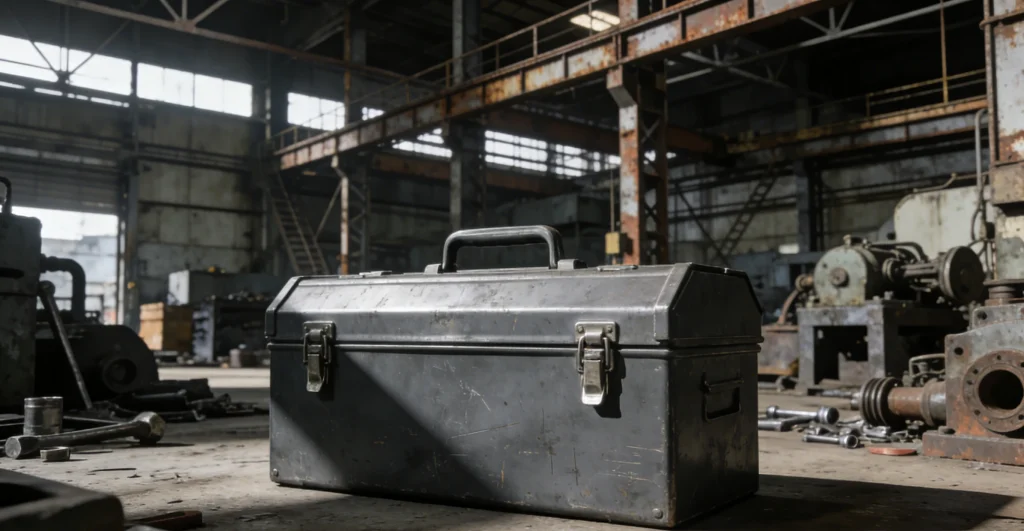
In household repairs, equipment maintenance, DIY projects, and everyday hardware tasks, the number of tools may not be large, but without an organized storage method, screwdrivers, pliers, wrenches, hex tools, screws, and various small accessories can easily become mixed together. This can increase the time required to find a specific tool and may also result in small components being lost. A small toolbox uses compact internal space, dividers, and categorized storage to keep commonly used tools together in an easy-to-manage container. Compared with simply placing tools in a drawer or on a workbench, a properly organized small toolbox gives each tool a relatively fixed storage location and allows tools to be arranged according to their frequency of use. By planning the internal space efficiently, users can store more practical tools within a limited capacity while making access, replacement, and daily organization more convenient.
Proper Internal Space Division Improves Tool Organization
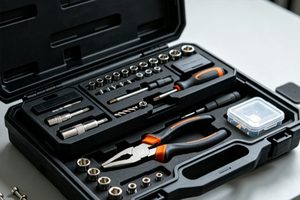
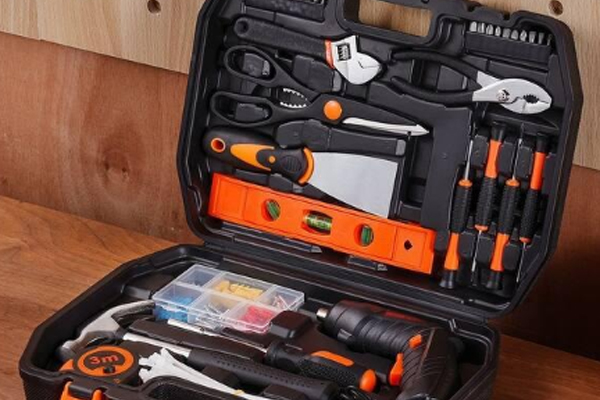
One of the most effective ways a small toolbox improves storage efficiency is by using its limited internal space to establish a clear tool organization system. Different tools vary in shape, length, and frequency of use. If everything is placed inside one large compartment, tools can easily cover each other, making them more difficult to locate. A toolbox equipped with fixed slots, dividers, trays, and small storage compartments can create dedicated areas based on tool dimensions. For example, long-handled screwdrivers can be placed in longer slots, small pliers and wrenches can occupy separate areas, while screws, washers, and nuts can be stored in individual compartments. This layout creates a clearer internal storage system and reduces the chance of tools becoming mixed together as the toolbox becomes more heavily used. Users who frequently work with the same tool set can also adjust the internal layout according to their workflow, keeping high-use tools in more accessible positions.
Arrange Tools According to Frequency of Use
Storage efficiency depends not only on available space but also on how tools are positioned. If frequently used screwdrivers, needle-nose pliers, or hex keys are placed at the bottom of the toolbox, users may need to move other items before reaching them, which reduces practical efficiency. A small toolbox can therefore be organized according to frequency of use. Frequently used tools can be placed near the lid, tray, or other easily accessible areas, while tools that are only occasionally needed can be stored underneath or in less accessible compartments. For products with multiple layers, commonly used tools can be placed in the upper section while backup tools and less frequently used items are stored below. This arrangement can reduce repeated searching without requiring a larger toolbox.
Use Small Compartments to Manage Loose Accessories
Screws, nuts, washers, connectors, drill bits, and similar small components can easily become difficult to manage when they are mixed with hand tools. Because of their small size, they can fall into corners or gaps between larger tools. A small toolbox can use individual compartments, transparent containers, or removable dividers to organize these loose accessories. During actual use, components can be classified according to specifications, dimensions, applications, or models, allowing users to quickly identify the parts they need. Common classification methods can be adjusted according to specific maintenance requirements:
- Classify by specifications: Store screws and nuts with different diameters, lengths, and models separately to reduce the chance of selecting the wrong component.
- Classify by tool type: Keep drill bits, screwdriver bits, and hex accessories in separate areas for easier identification.
- Classify by frequency of use: Frequently used small accessories can be placed in easily accessible compartments, while backup components can be stored separately.
- Classify by repair task: Prepare different accessory sets for electronic repairs, furniture assembly, bicycle maintenance, or other specific tasks.
- Use labels for easier management: Simple labels or visual markings can distinguish storage compartments and help users identify their contents quickly.
When small accessories have fixed storage locations, the interior of the toolbox becomes more organized and the time required to restore tools after a repair task can also be reduced.
Make Full Use of Vertical Space to Reduce Unused Capacity
Although a small toolbox has limited external dimensions, its internal space does not have to be used only as a flat storage area. Making effective use of vertical space can create additional storage zones within the available height. For example, upper trays, double-layer structures, lid compartments, and dividers can separate tools that would otherwise be stacked on top of one another. Flat screwdriver bits, washers, and small accessories can be placed in the lid or shallow storage areas, while larger pliers and wrenches can be stored in the main lower compartment. This arrangement reduces tool overlap and keeps more items visible. When choosing a toolbox, users should consider not only the external dimensions but also the effective internal space, compartment height, and tray position. A small toolbox with a well-planned internal structure can achieve a high level of space utilization even when its overall capacity is relatively limited.
Establish a Consistent Storage Habit for Long-Term Efficiency
The storage efficiency of a toolbox depends not only on its structural design but also on consistent usage habits. If tools are placed randomly after every repair task, an organized toolbox can quickly become disordered. A practical approach is to assign a fixed location to each frequently used tool and return it to that location immediately after use. For tool combinations that change according to current projects, the internal arrangement can be adjusted periodically. Less frequently used tools can be moved out of the primary storage area, while tools needed regularly can be positioned for easier access. During routine organization, users can also check the quantity of screws, drill bits, screwdriver bits, and other accessories, while removing dust and debris from the toolbox. A simple storage routine can include the following steps:
- Return each tool to its designated location immediately after use instead of leaving it temporarily in another compartment.
- Check small accessories regularly and replace missing or damaged items when necessary.
- Adjust storage areas according to actual work requirements and remove tools that are no longer useful.
- Reorganize small components with different specifications to prevent multiple models from becoming mixed together.
- Clean dust, metal particles, and other debris from the toolbox to maintain a clean storage environment.
Maintaining consistent return and inspection habits allows a small toolbox to retain an organized internal structure over time, preventing storage efficiency from declining as the toolbox is used more frequently.
The value of a small toolbox is not limited to providing a container for tools. Its greater benefit comes from using an organized internal structure and practical storage methods to make efficient use of limited space. Dividers can reduce tool mixing, designated storage locations can shorten search time, individual compartments are useful for managing screws and other small accessories, while layered structures can improve the utilization of internal space. Combined with consistent tool-return habits, even a compact toolbox can effectively support household repairs, DIY projects, electronic maintenance, bicycle servicing, and other tasks requiring everyday tools. By planning the internal layout according to tool quantity, dimensions, and frequency of use, users can make a small toolbox a more efficient and practical tool storage solution.